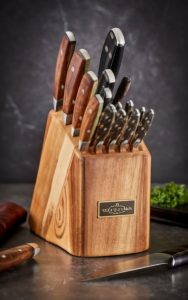
Craft Your Own Wooden Knife Block: A Woodcarver’s Tutorial
Introduction
Every kitchen tool holds a unique significance in culinary artistry. The unassuming knife block is a vital instrument for any budding chef or cooking enthusiast. While prefabricated knife blocks abound in stores, there’s an unparalleled satisfaction in fashioning your own from scratch. In this in-depth manual, we’ll delve into the craft of fashioning a DIY wooden knife block, guiding you through each phase of the carving process. From handpicking the perfect wood to mastering intricate carving techniques and refining finishing touches, you’ll glean the expertise needed to forge a practical and stylish knife block destined to be your kitchen’s centrepiece.
The Significance of Handcrafted Knife Blocks
Overview of Wooden Knife Blocks
Wooden knife blocks have been a fixture in kitchens worldwide for generations. Beyond their utility in organizing knives, they exude a rustic charm and innate beauty that complement any kitchen cabinets setting. Unlike their plastic or metal counterparts, wooden knife blocks endure the test of time, embodying durability, timelessness, and adaptability—a preference shared by home cooks and seasoned chefs alike.
Fashioning Your Knife Block
While initially daunting, fashioning your wooden knife block is a gratifying and enriching DIY endeavour accessible to all. It permits customization in design and size to suit individual requirements and instills a sense of achievement and pride in crafting something by hand.
Step-by-Step Guide to Carving
Preparing the Wood for Carving
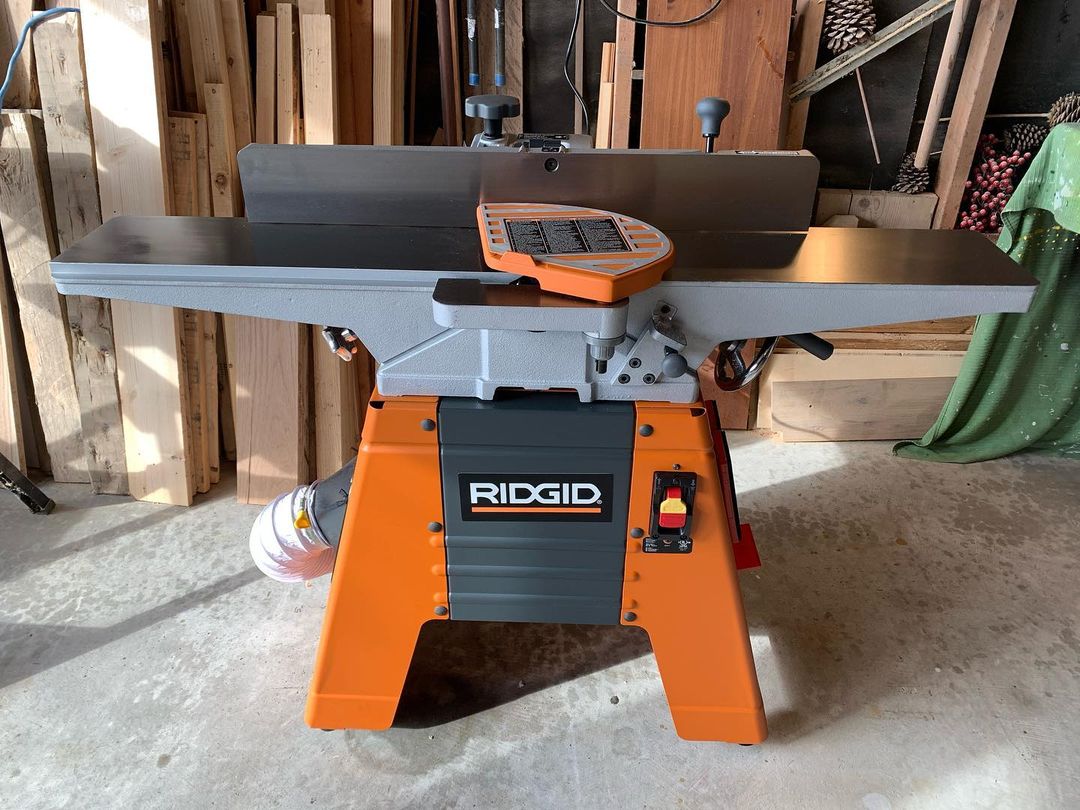
Embarking on the creation of a DIY wooden knife block commences with the selection of suitable wood. Hardwoods such as maple, cherry, and walnut are favoured for their robustness and aesthetically pleasing grain patterns. Following wood selection, the wood is prepared for carving by cutting it into rough dimensions with a saw, ensuring ample material for subsequent shaping.
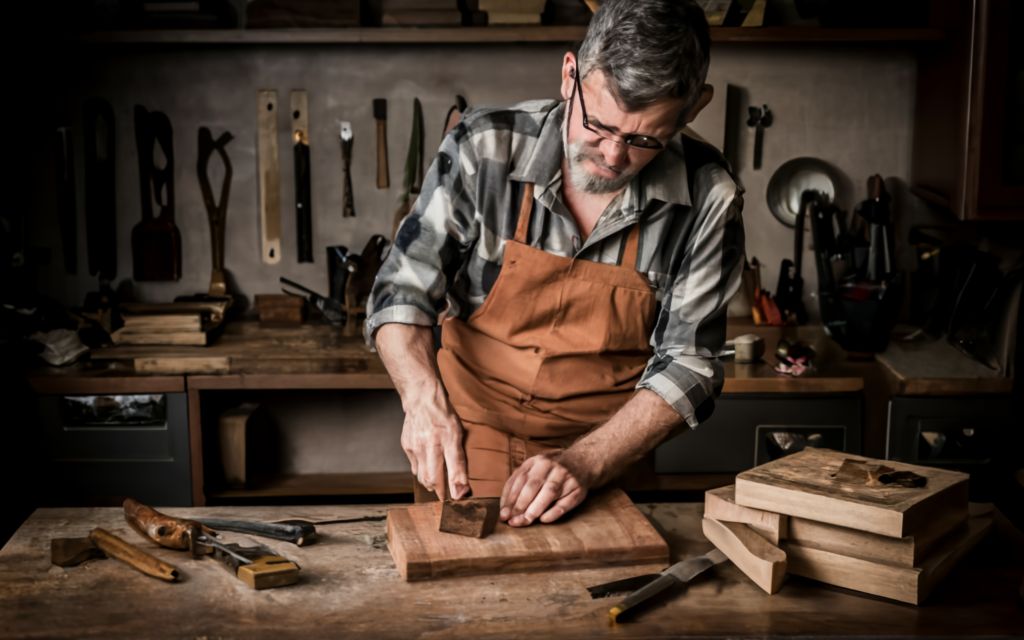
Carving and Crafting the Knife Block
With the wood blank-sized to specification, carving and crafting the knife block ensue. Commence by outlining the primary form of the block on the wood surface, factoring in dimensions and the requisite slots for knife accommodation. Employ an assortment of carving knives, chisels, and gouges to remove material and sculpt the desired form meticulously. Exercise patience during this phase, prioritizing smooth, uniform surfaces and precise edges.
Sanding and Perfecting Techniques
Upon carving the fundamental structure of the knife block, attention shifts to sanding and perfecting the wood to achieve a lustrous, refined finish. Initiate the process with coarse sandpaper to eliminate imperfections or rough patches, progressively advancing to finer grits for a velvety-smooth surface. Thoroughly sand the block’s interior and exterior surfaces, emphasising edges and corners.
After sanding, apply a finish to the wood to safeguard against moisture and enhance its inherent beauty. Opt for food-safe finishes like mineral oil or beeswax, which furnish a resilient and enduring seal without compromising knife integrity.

Selecting Appropriate Wood for Knife Blocks
Optimal Wood Choices for Knife Blocks
In selecting wood for your DIY knife block, several considerations include durability, grain pattern, and visual appeal. For its hardness and uniform grain, the prized maple is ideal for securely housing sharp knives. Cherry exudes a welcoming ambience with its warm tones and intermittent knots, imparting character to the finished product. Walnut, with its abundant, dark grain, lends an air of sophistication and refinement to any kitchen environment.
Contemplations on Durability and Safety
Beyond aesthetics, deliberations on wood durability and safety are paramount in material selection for knife blocks. Hardwoods such as maple, cherry, and walnut are favoured for their resilience and sturdiness, ensuring longevity and resilience against warping or fracturing. Additionally, exercise discretion in choosing wood devoid of knots, fissures, or other blemishes that may compromise structural integrity.
Enhancing Visual Appeal and Resilience
Refinement Techniques for Wooden Knife Blocks
To elevate the visual allure and robustness of your DIY knife block, contemplate the application of refinement techniques. Food-safe finishes like mineral oil or beeswax provide a protective seal that fortifies against moisture damage while augmenting the wood’s innate beauty. Apply the finish liberally across all block surfaces, ensuring comprehensive coverage of both interior and exterior surfaces.
Fortifying and Shielding the Wood
In conjunction with a finish, consider fortifying the wood with a protective sealant to provide an additional layer of defence against moisture and abrasion. A waterproof sealant such as polyurethane augments resistance to water damage, rendering the wood more manageable to cleanse and maintain. Adhere to the manufacturer’s guidelines during application, affording ample drying time before employing the knife block.
In Conclusion
In summary, embarking on a DIY wooden knife block is an enriching and fulfilling endeavour that enables the exhibition of woodworking prowess while yielding a practical and visually appealing kitchen accessory. By adhering to the step-by-step carving guide in this exposition and exercising discernment in wood selection, you’ll craft a stunning and functional knife block destined to be cherished across generations.