HAND TOOLS.
carefully selects the kind of tool that is needed for the job.
Tools become an important part of a carpenters life and he or she will choose the ones that best suit their individual needs to help each perform with speed and accuracy the various tasks of the trade.
Although the basic design of the tools has changed little over the years, modern technology and industry “know-how” have brought numerous improvements. Experienced carpenters appreciate the importance of having
good tools and select the ones that are going to last longer and give him/her good service.
A detailed study of the selection, care, and use of all the hand tools available is not possible. Only a general description of tools most commonly used by the carpenter will be included.
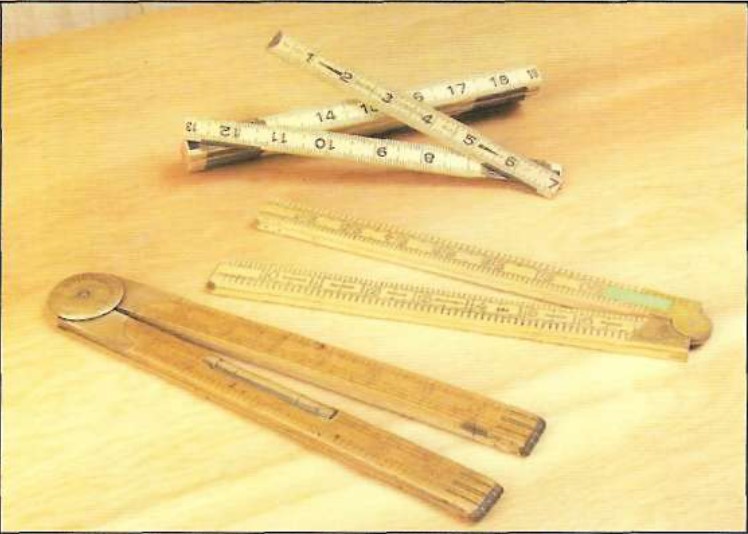
Tape rules ranging from 10′ to 100′ are available for many uses.
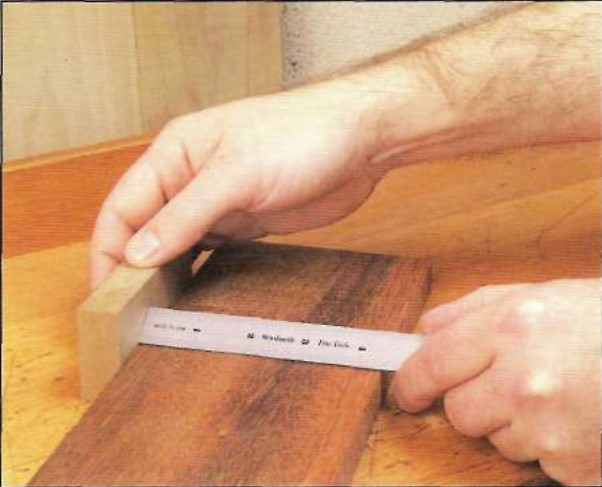
Try squares are available with blades 6 to 12 inches long. The combination square is used in a similar purpose and is also used to layout miter joints. The adjustable sliding blade allows it to be used as a gauging tool.
Another saw, occasionally used for cutting curves, is the coping saw, which has about 15 teeth per inch.
Crosscut saws, as named are designed to cut across the grain of the wood.Their teeth are pointed.
Ripsaws , hardly ever used today with the advent of the table saw are saws that are intended to rip a board and their teeth are shaped like a chisel.
Every carpenter needs a good crosscut saw with teeth size ranging from 8 to 11 teeth per inch. A crosscut saw for general use has 8 teeth per inch. A finishing saw has teeth of 10 to 11 teeth per inch for fine cutting.
Standard surfacing planes include the smooth plane(8-9in. long), jack plane (14 in. long).
The jack plane is commonly used for general work as well as the block plane. Wood chisels are used to trim and cut away wood or composition materials to form joints or recesses.They are also helpful in paring and smoothing small, interior surfaces that are inaccessible for other edging tools.
The operation is called boring. Small holes are formed with hand or push drills from years gone by but, todays modern drills and drill bits serve the same purpose but are more functional for hand tools.
The brace and auger bits are still used on occasions where electric can not be furnished.
Carpenters usually carry a hammer in a holster fastened to their belt or on a nail apron, made from leather.
There are two basic shapes of hammer heads that are in common use;
1. The curved claw
2. The ripping (straight ) claw, also known as a framing hammer.
The curved claw is the most common and is the best suited for pulling nails. the ripping claw which may be driven between two fastened pieces and is use like a chisel to pry them apart. The size of a hammer is determined by the weight of its head. It is available in a range from 7 to 30 oz., the 13oz. size is commonly used for finish work.
Carpenters usually use a 16 – 22 ounce hammer for rough framing.
Hand tools are numerous and include the following; The brace and bits, screwdrivers, hand drills of many types and styles, nail sets that come in three sizes of 1/32 to 5/32 in. by increments of 1/32 in. Overall length is about 4 inches. Other hand tools are wrenches of different kinds, pliers, vise grips, clamps and just about any other hand tool you could imagine.
It has a slight cleaning action and also leaves a thin light oil film that protects metal surfaces from rust.
Keep handles on all tools tight. When handles and fittings are broken they should be replaced. It is a simple matter to keep chisels sharp and smooth, by honing them on an oil stone after each use and before you put it away. For tools with a single beveled edge such as the block or jack plane and chisels place the tool on the flat part of the tool and raise the back edge a little and stroke across the stone with a gentle forward push. Don’t forget to put a few drops of oil on the stone periodicly. then move the blade back and forth untill you can feel a little wire edge on the back of the blade. Turn the chisel or plane blade on its back and draw it across the stone flat on its back to remove the curled edge. Turn the tool over and once again lightly stroke the bevel across the stone a couple more times and wipe clean with a rag and put away.
If not damaged a chisel can be honed several times before grinding is required. When the bevel becomes blunt from being used or dropped on its point, reshape it with a grinding operation. Caution do not grind in a manner that will allow the blade to get hot or turn blue as this will take the temper out of the blade.
Some tools may be sharpened with a file, for auger bits it is bes to use a special auger bit file or three corner file.
Hand saws require being filed and set to a certain degree of bevel of the teeth and most carpenters send them out to a saw sharpening company.
Since hand tools cover more than is alloted in this chapter this concludes this chapter.